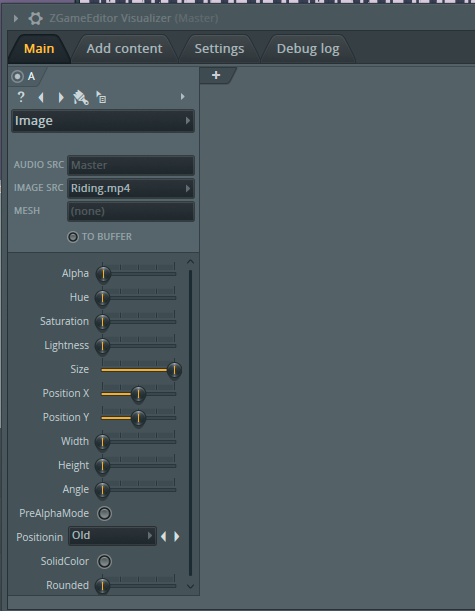


You'll do this by turning on the "to buffering" button for every first (rightmost) layer of the potential buffering zone. "Buffering zones" are sort of individual collectives of layers which in and of themselves are pretty much just bigger layers.

So basically, you do indeed use the "to buffering" button to create a "buffering zone". So, it took me a while to figure this out too but eventually with time, rereading the "to buffering" article on image line, and lots of experimentation, I was finally able to understand how it all worked.


 0 kommentar(er)
